Welcome to week two of our Said With Love Advent Calendar sew along!
It isn’t too late to join if you want to – just go and buy the pattern and have a quick read of week one’s post and then come back here.
For the next two weeks we are going to be making the 25 pockets that make up the advent calendar.
They are not hard to make… but there are 25 of them!
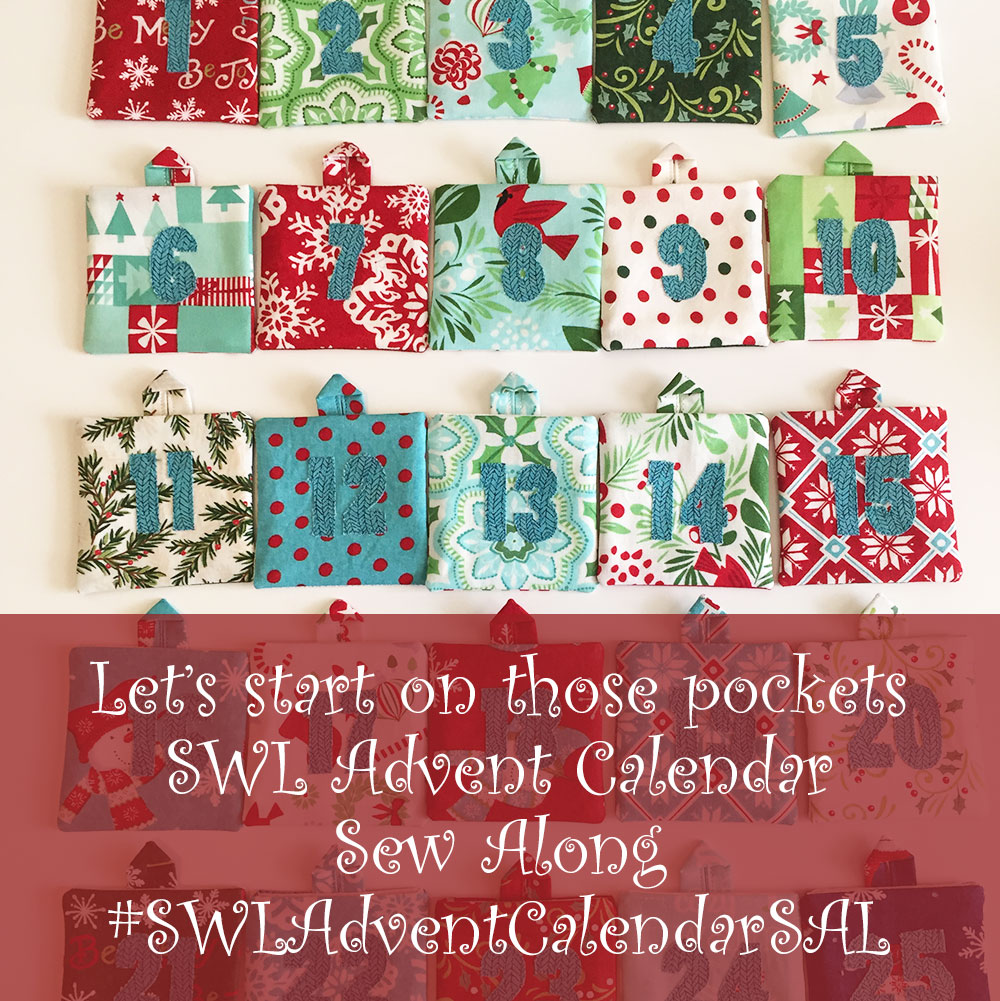
This week we are going to sew the numbers onto the pockets and make at least one pocket completely so you can see how it all goes.
By making one pocket all the way through before you get into chain sewing mode means you know how it all goes together and any tweaks you need to make for how you want your calendar to look can be done before you have made them all. THEN you can get into an assembly line for the other 24 🙂
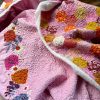
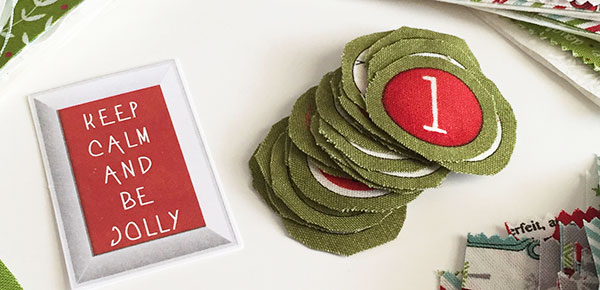
Here are a couple of my Hello Darling pockets that I have sewn.
But first we need to attach our numbers to the fabric for your front of each of your pockets.
I have decided to use the numbers fabric from Sweetwater’s Countdown to Christmas fabric so I cut those out last week and have been sewing them onto my pocket fronts.
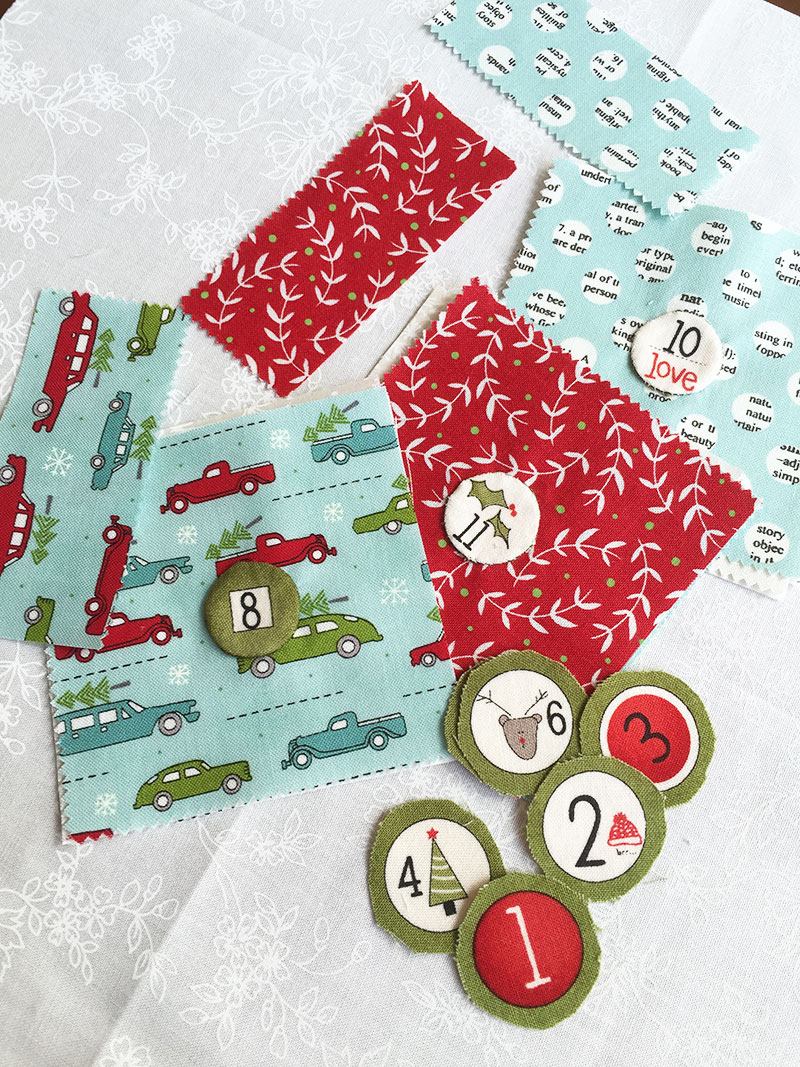
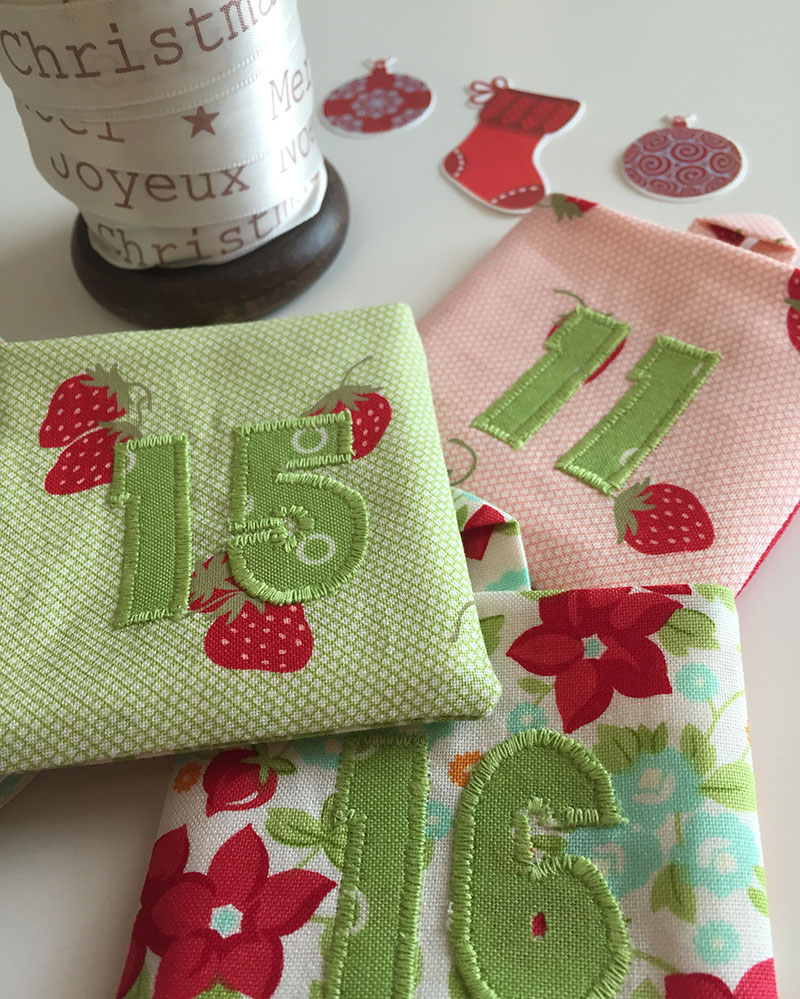
For my Hello Darling calendar I have cut out the numbers in a co-ordinating fabric. I used the green circles for most of the pockets and used the blue and red circles on just a couple of pockets that didn’t have enough contrast.
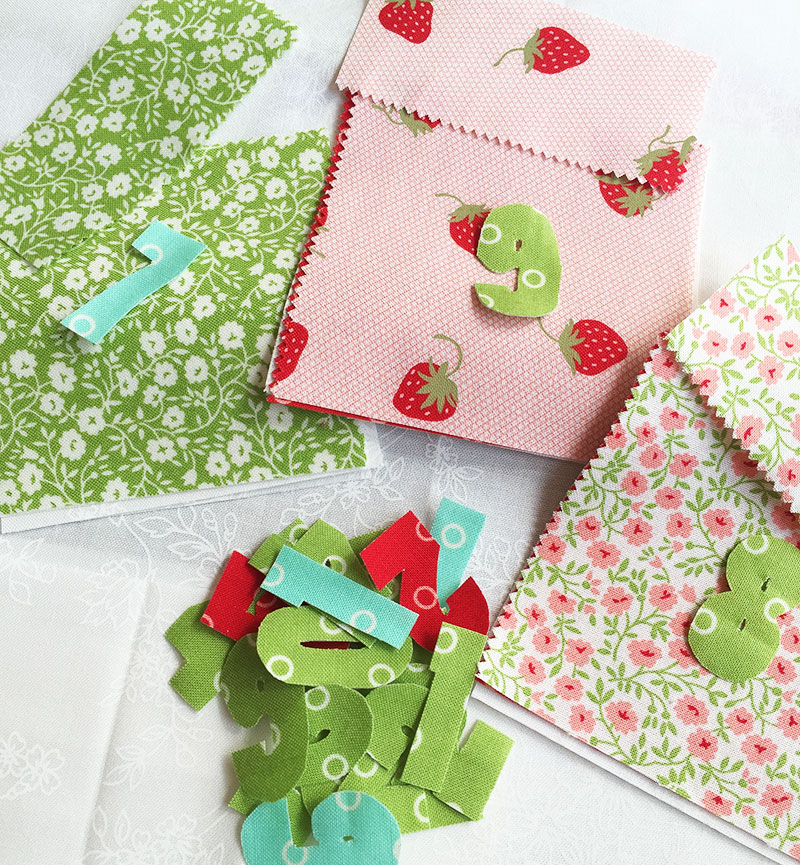
And I am sewing them onto each pocket front and zigzagging around them to ensure they stay nice and neat for many years to come.
In the instructions you will see some suggestions for snipping out some of the bulk from the seams so when you fold your pocket together it looks great. With a good iron I found I didn’t need to top stitch around the pocket opening either.
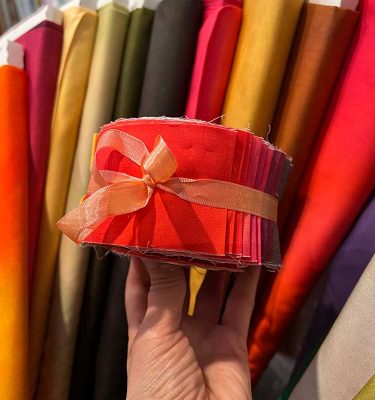
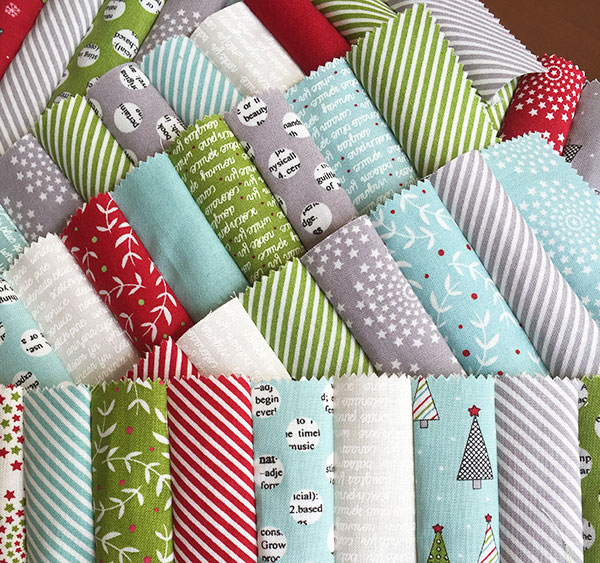
One thing I loved with using the charm squares was that I could use those extra bits of fabric to make up the inner border. One tip to make things go quicker is to use those strips as ‘leaders and enders’ which Lori Holt talks about on her blog (beeinmybonnetco.blogspot.com.au/2011/07/leaders-and-enders.html). Basically this means that you have your pile of little strips that we are going to use in our border next to your sewing machine and then you grab two of them, right sides together, and include them in your chain sewing. Sew one lot of strips together, then one of your pockets, then another set of strips and so on and so forth. Before you know it you have all your strip pieces sewn together ready for week 4!
Love to see how your pockets are coming along – don’t forget to take some pictures and post them on Instagram with #SWLAdventCalendarSAL so we can all see how you are going 🙂