
I was given three Cotton + Steel fabrics and three matching colours from the Cotton + Steel Sulky thread collection to make a small project from.

If you follow me on Instagram or have been in any kind of swap with me, you will be laughing VERY hard by now….. because I HATE orange!!
But the Hollyhocks in Natural from the Santa Fe range (the top print) is actually lovely and the other two match well.
I may have to rethink my hatred of orange…. perhaps there are *some* oranges that are just right 🙂
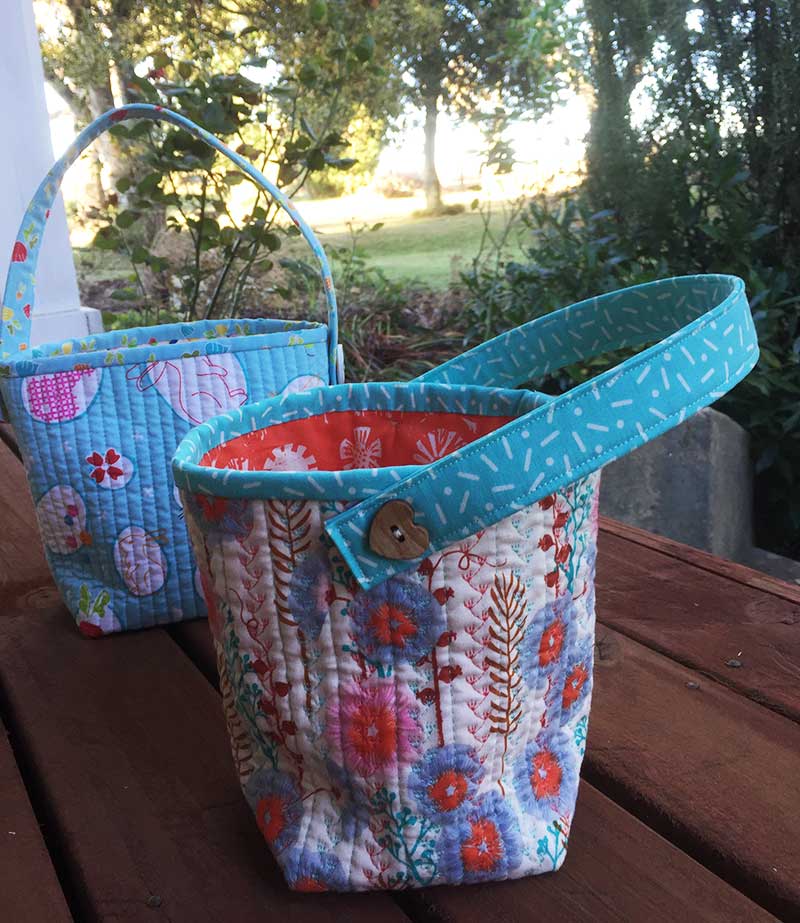
And here is the project that I created – a quilted basket with a moveable handle.
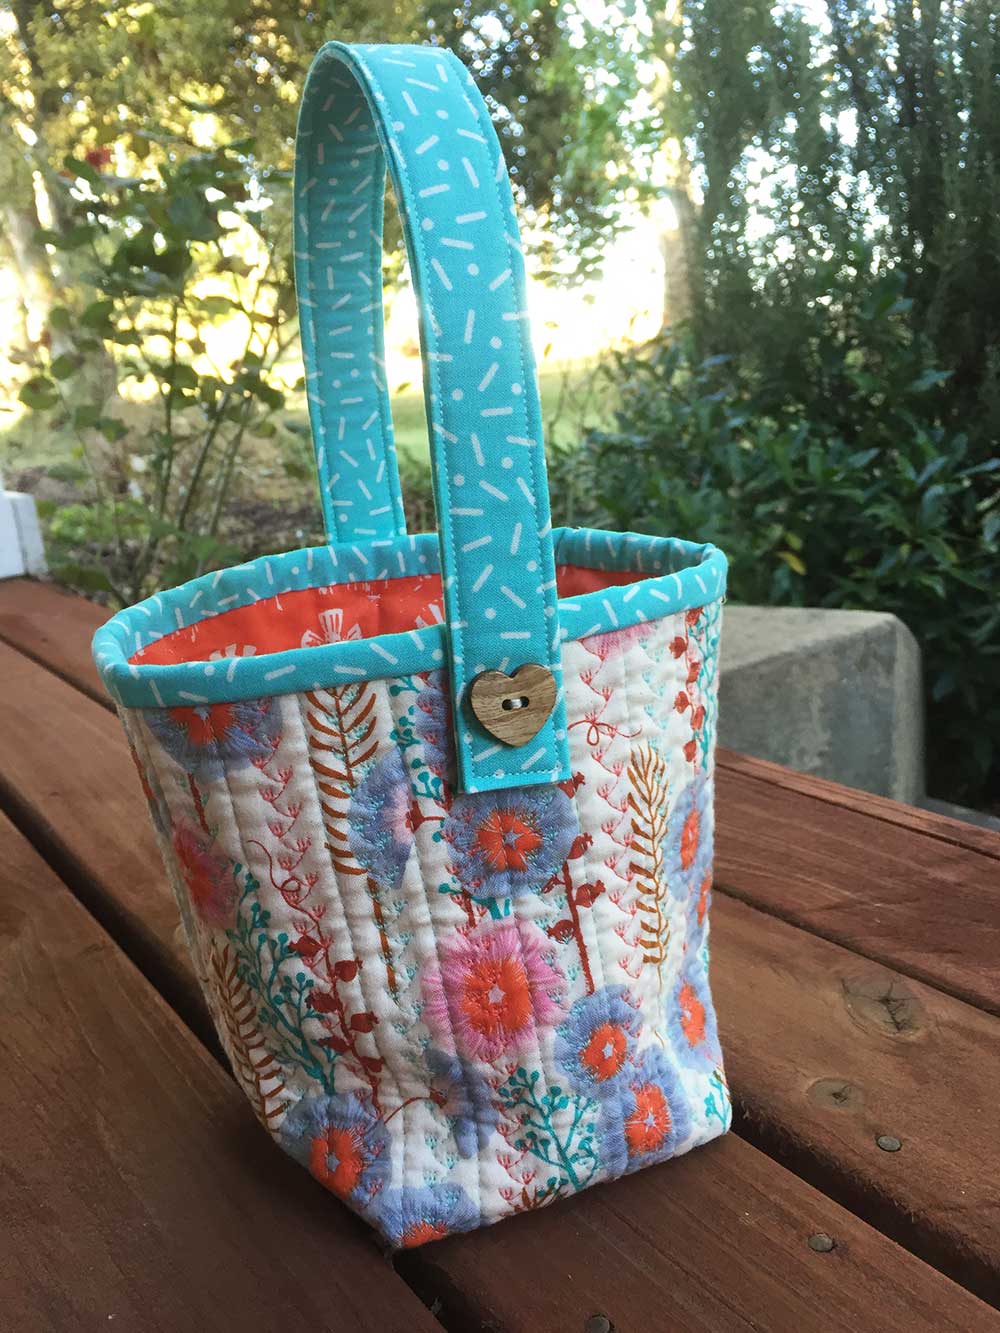
I have a beginners quilting class this weekend and I am going to use this as a thread basket for the middle of the table… and then for Easter weekend it is going to get some double duty whilst collecting chocolate easter eggs from all around our house!
Ok, so here is the tutorial on how to make one using three fabrics and thread!
Quilted Basket with Moveable Handles Tutorial
Requirements:
1 FQ C+S Hollyhocks in Natural from the new Santa Fe [main print]
1 FQ C+S Wildflower in Sun from the Sienna
1 FQ C+S Lemon Pill Ice Blue from Snap to Grid
C+S Sulky threads 1082 (cream), 1020 (orange) and 1046 (blue)
2 – 11″ square wadding
2 – 11″ square scrap backing material (it will not be seen)
1″ x 15″ stiff interfacing for the handle
2 cute buttons for the handles
Instructions:
Fold the main print FQ in half from the selvedge
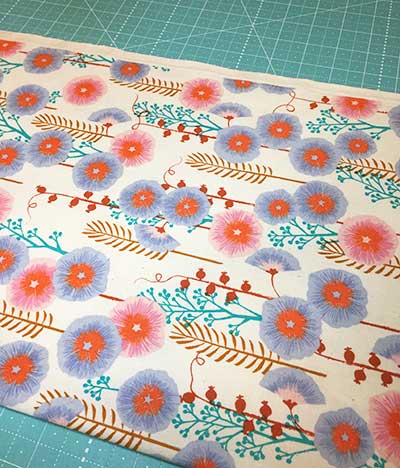
Trim up both sides and then cut in half. This will give you two strips that are approximately 9.5″ x 22″ (this is based on a metric cut FQ, for those using this tutorial with a Imperial FQ this will be more like 8.5″ x 22″)
Put aside one of these strips (you can make a second basket with it later)
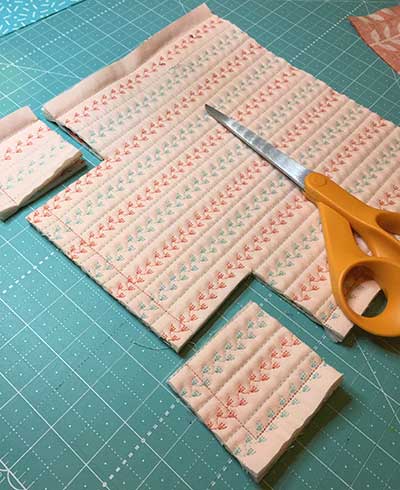
Trim off the selvedge from the strip and then cut the strip in half – you will be left with two pieces approxmiately 9.5″ x 10.5″
We are not worried about exact measurements at this stage as we are going to quilt these outer panels A LOT and will trim them to a finished size once done 🙂
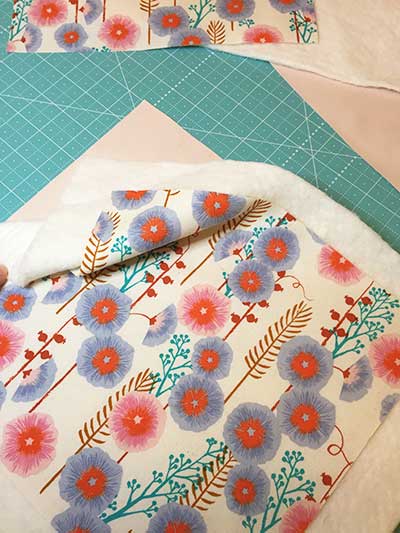
Make two little quilt sandwiches from a main panel piece, a piece of wadding and a piece of your backing scrap fabric.
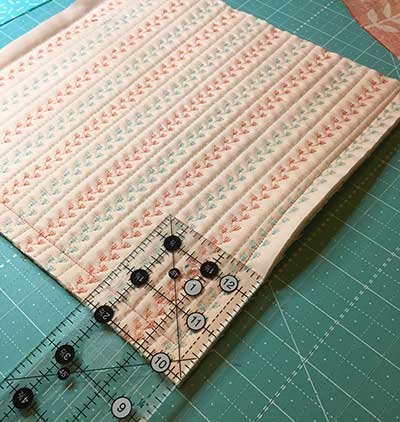
Now go to town with your quilting! I used a fancy stitch on my machine in alternatively the orange thread and the blue thread. And between those, some straight lines as well. You want it to be densely quilted to give it the ability to stand up by itself without sagging 🙂
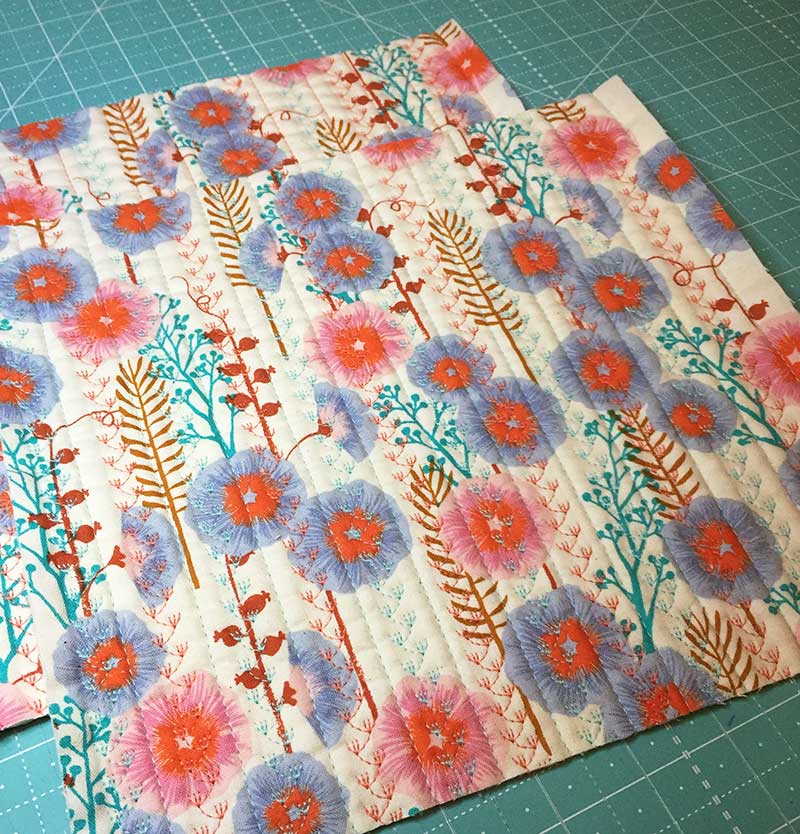
Trim your quilted panels to 10″ x 9″ (it will be smaller than this with a US fat quarter)
Now to the other FQs!
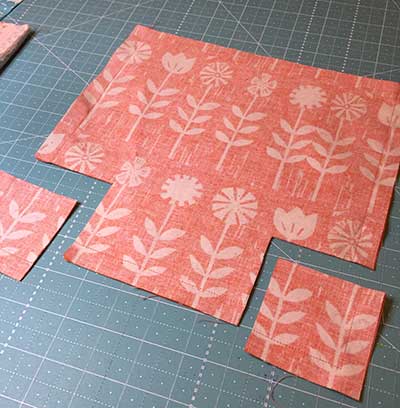
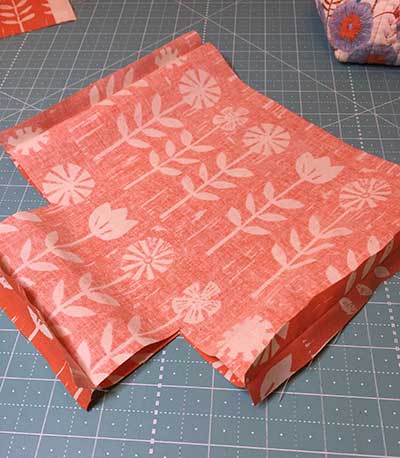
Take the orange interior fabric and fold it selvedge across and then trim one side and cut a 9″ strip off. From that strip, remove the selvedge and then cut two 10″ pieces (you will have two 10″ x 9″ pieces). These will be your interior lining of your basket.
Put aside the rest of the orange fabric as this can be co-ordinating pieces for your second basket.
Take your blue co-ordinating fabric and fold it with the selvedge and trim one side and then cut a 2.5″ strip (this will be the binding for the top) and a 4″ strip (this will be your handle). Put aside the rest of this blue fabric as it can be the interior for your second basket.
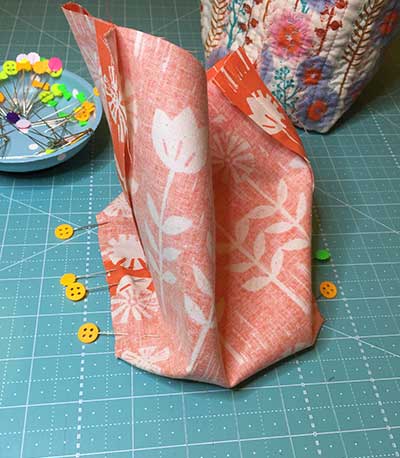
Now, using a 1/2″ seam, put your two exterior panels right side together and sew around the two sides and bottom (the main print is directional so make sure they are both up the correct way!).
Press the seams open. This is a little fiddly, but worth the effort for a flatter basket.
I have sometimes sewn the seams of the exterior down, however on a basket this small it was SUPER fiddly… only do that if you really want to get frustrated (ask me how I know this!!)
And then take your two orange interior pieces, right sides together and with a generous 1/2″ seam sew together around the sides and bottom (again, taking care that your pieces are the correct way up). Press seams open.
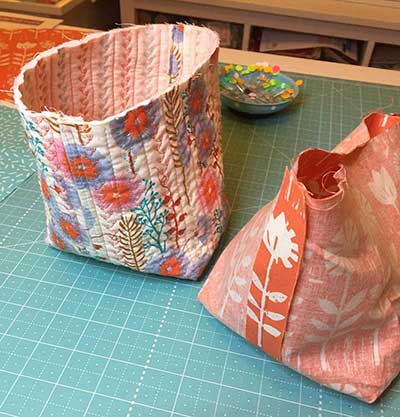
Then mark out a 2.5″ square on the bottom two corners of the exterior and the interior and trim off the corners. If you didn’t sew your seams down, now is a good time to trim the exterior seams to about 1/4″ to remove a bit of bulk.
Pin the cut out corners, matching the side seam and bottom seam to box the bottom of the exterior and interior. Use a 1/2″ seam and then trim.

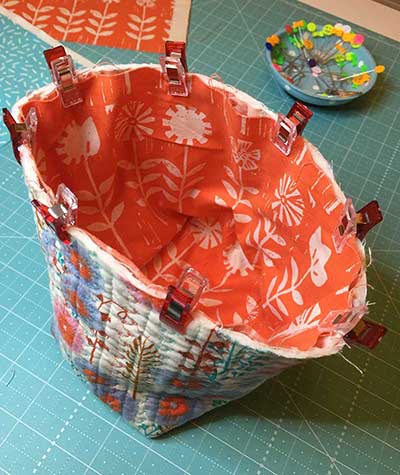
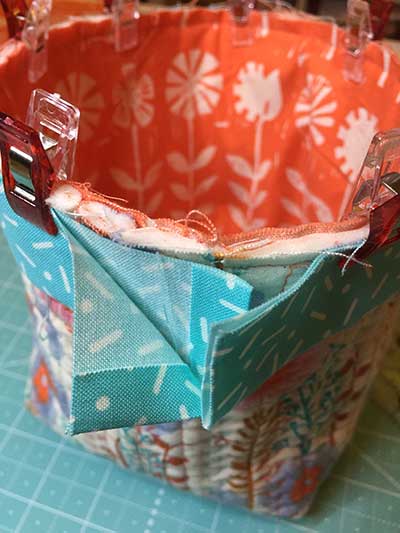
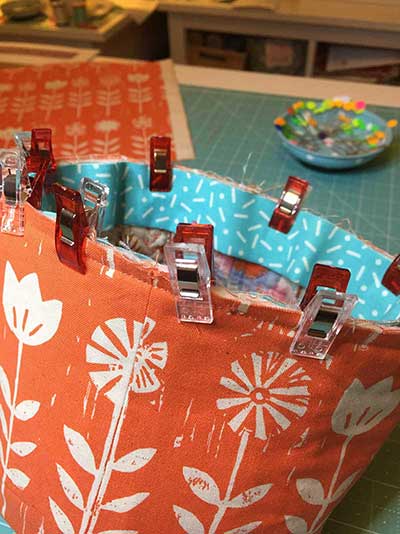
Turn the exterior out the correct way and place the interior inside, match up the sides ensuring that the lining is neat and as flat as possible, and pin/wonder clip.
Then sew a scant 1/4″ around the top of the basket to keep these two together.
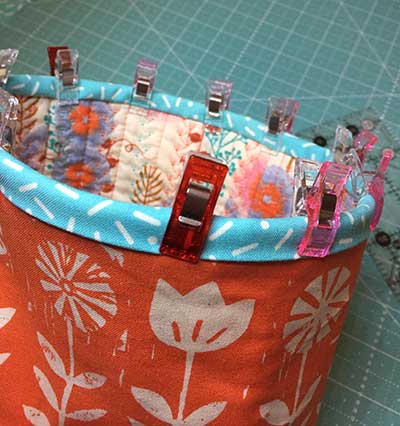
Binding
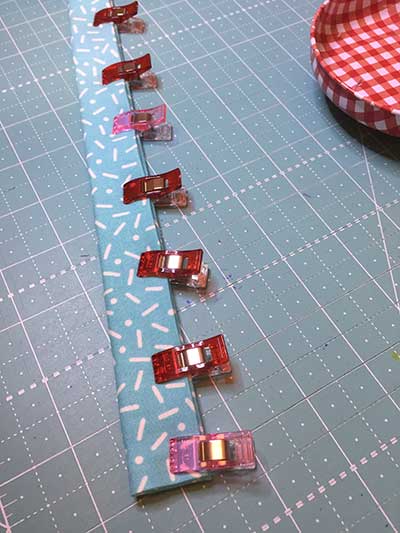
Take your 2.5″ strip and press in half. Clip this around the top of the basket and when you come back to the start of the binding, measure an inch past it and then cut off the tail of the strip.
Fold over 1/2″ at the end and press under to give a nice neat end.
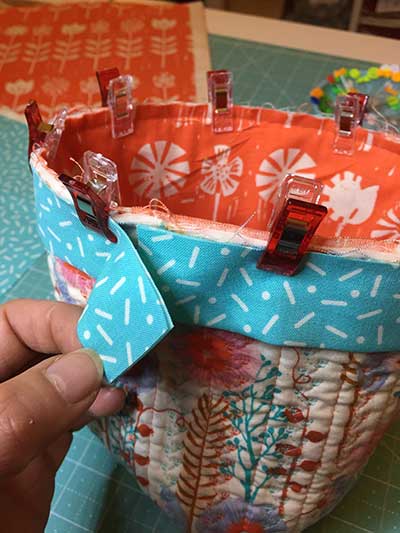
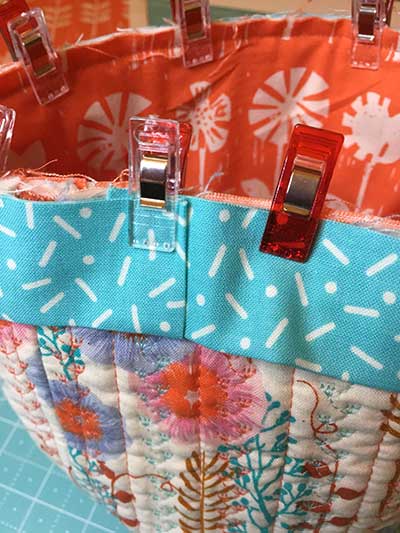
Pin the raw end into the folded end and then take to your sewing machine and sew a 1/4″ seam all around the top starting just past the join, giving you some jiggling room when you get back around to finally sew over the join.
I found that turning my basket in the other way and sewing from the other side was better as I could make sure that my 1/4″ seam was JUST outside the seam I had previous sewn. I didn’t want that showing.
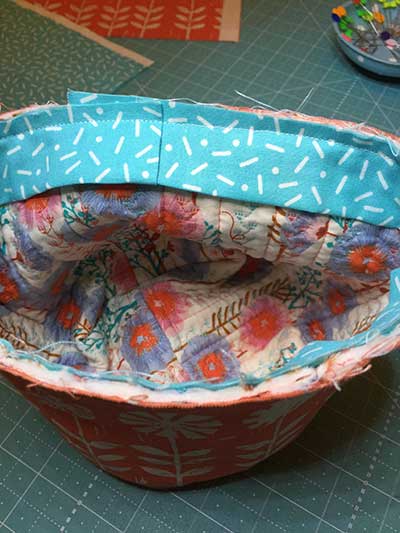
Hand sew your binding onto the other side and then we are up to the handle!
Handle
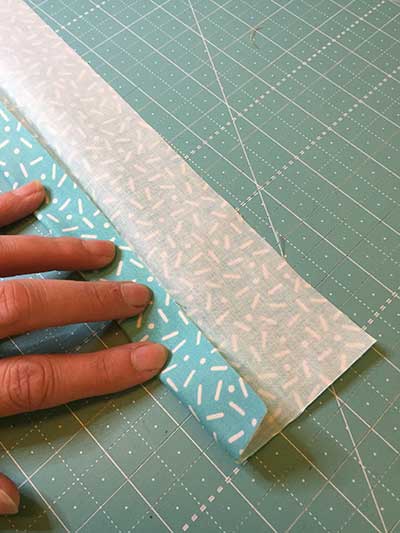
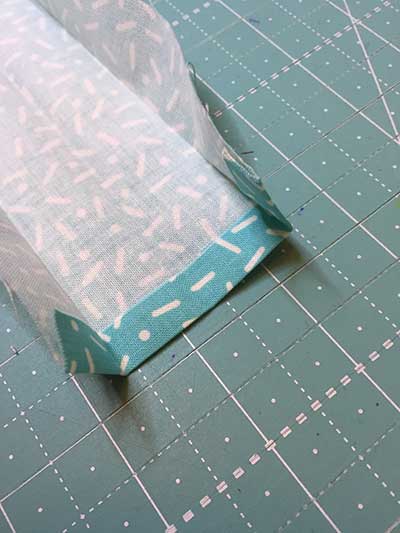
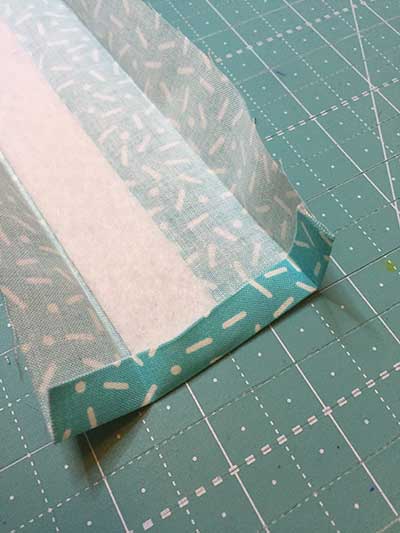
Take your 4″ strip from your co-ordinating fabric. Cut it to 16″ in length. Press each end in by 1/2″ and then press in half along the length and then each side in half again.
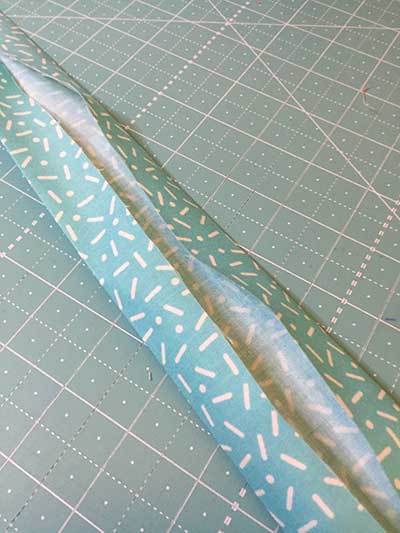
Place the stiff interfacing in the middle of the handle and fold over one side and then the other side. Pin or clip and then sew 1/8″ along the open side and all around the handle.
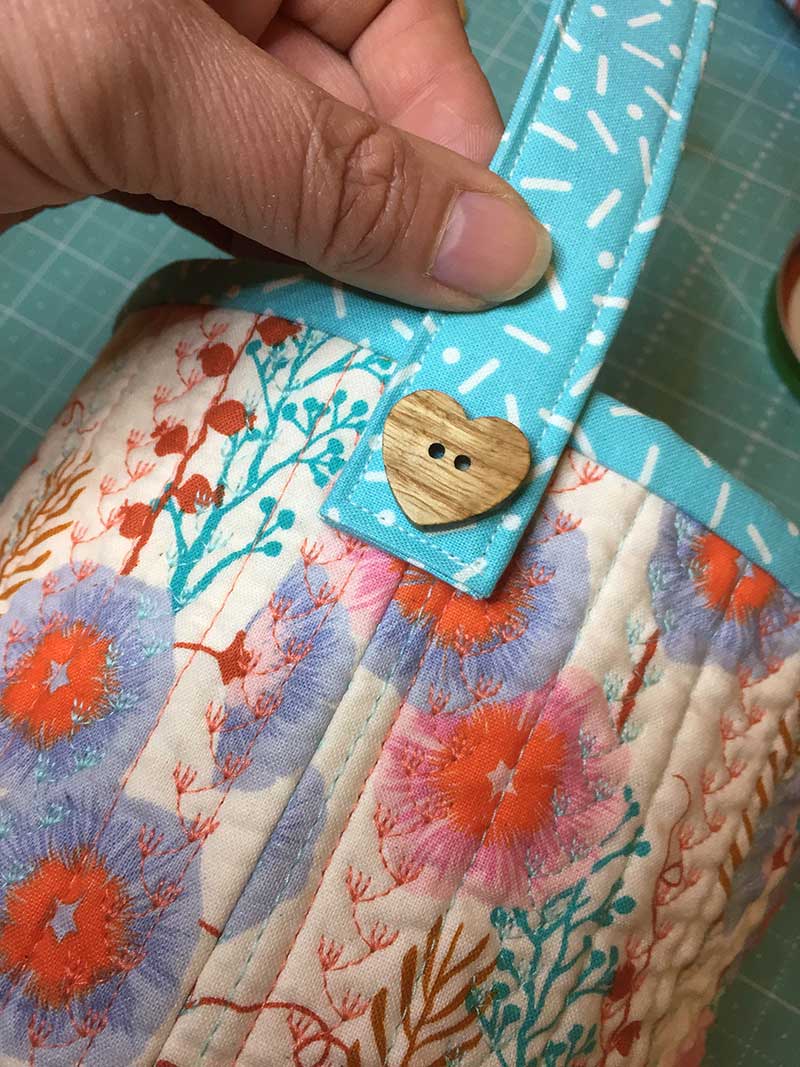
Take your handle and place a cute button near one end and sew the button onto the handle. Use a double thread. Don’t tie it off.
Place the handle onto the basket and go through the button, handle AND basket with a few turns with your thread and then bring your thread back through the side of the basket but under the handle and tie off there.
Repeat for the other side, ensuring that your buttons and handle are even.
You will now have one very cute basket with moveable handles!

And I couldn’t resist making one with bunny fabric for easter!
I hope you have enjoyed making your basket!


Such a sweet basket! My mom’s favorite color was orange…gasp! I never understood it because it certainly wasn’t even close to being liked by me. She even drove an orange car for a while! Now that she’s passed, I try to bring bits of orange into my projects here and there as a token of love for her. The orange in your basket really compliments the other colors so well and I think that’s the trick to using it. Smiles from heaven for you!
Oh dear, an orange car?! That would be pushing it for me hehehe. So lovely that you can incorporate little bits in your projects to remember your mum xx
Thanks for Sharing this pattern and thanks Jane for getting this club up and running, glad I decided to join. Can’t wait till I’ve got the time to sit my backside down and start sewing.
hahahaha! Don’t we all just wish there were 10 hours specifically for sewing each day!? 😉
What a great method for finishing the basket and finishing the handle.
Thanks Yvonne! I love that the handle can get out of the way easily when not needed 🙂