
Welcome to Week 4 of our Sew Along!
This week we are going to make up the main tree section (page 17 in your Said With Love Advent Calendar pattern). I love the tree section as it is the main focal point of the calendar and is where you can really go to town and make the Advent Calendar your own!
If you would like to join in the Sew Along, go and grab the pattern from here and then read the previous posts to catch up 🙂
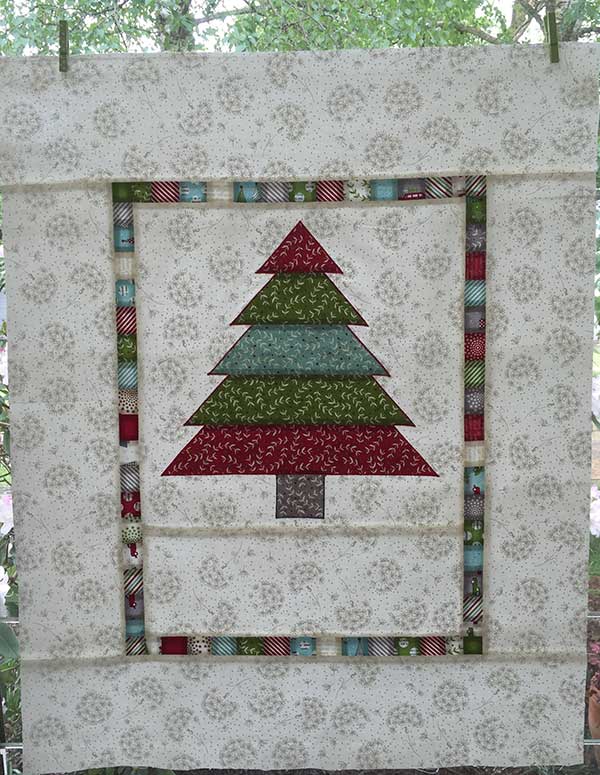
I selected my tree fabrics and am going to sew them up and cut out my tree shape. There are lots of ways you could customise this section of your calendar if you wanted to do something slightly different…. patchwork squares, embroidery, paper pieced, a single piece of fabric… feel free to make it your own!
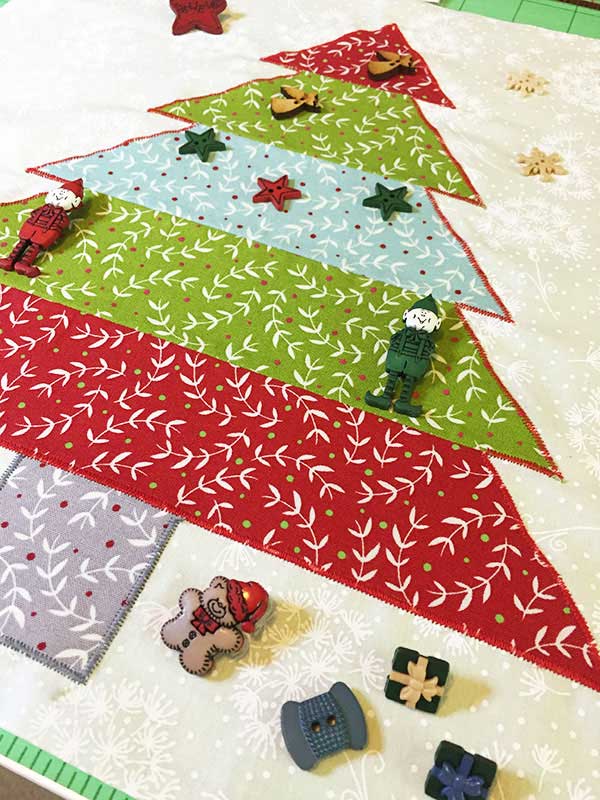
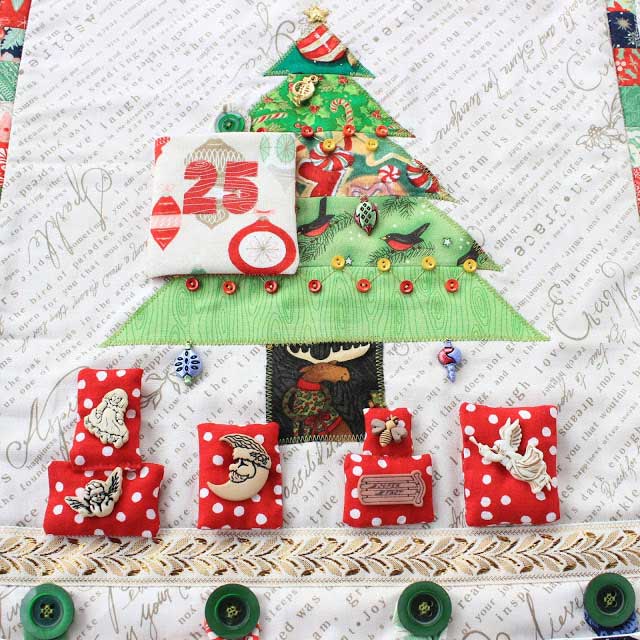
I have chosen to strip piece my Holly’s Tree Farm Advent Calendar and for my Hello Darling Advent Calendar I originally thought I would do a modern interpretation of a tree using different sized circles. However, after needle turn applique-ing all the numbers onto the pockets I am a bit over hand sewing! So my Hello Darling tree is going to be pieced too.
Once you have your tree shape on the main section of the Advent Calendar, it is a great time to start auditioning your buttons / decorations for on your tree and below your tree. I have some really cute buttons I have had for ages that I am going to use on my Holly’s Tree Farm tree. Pocket number 25 is going to go between my guard elves! 🙂
And I am going to use some scraps of fabric to make ‘presents’ for under my Hello Darling tree. @mara_makes did this for her Advent Calendar and popped a button on each present as well.
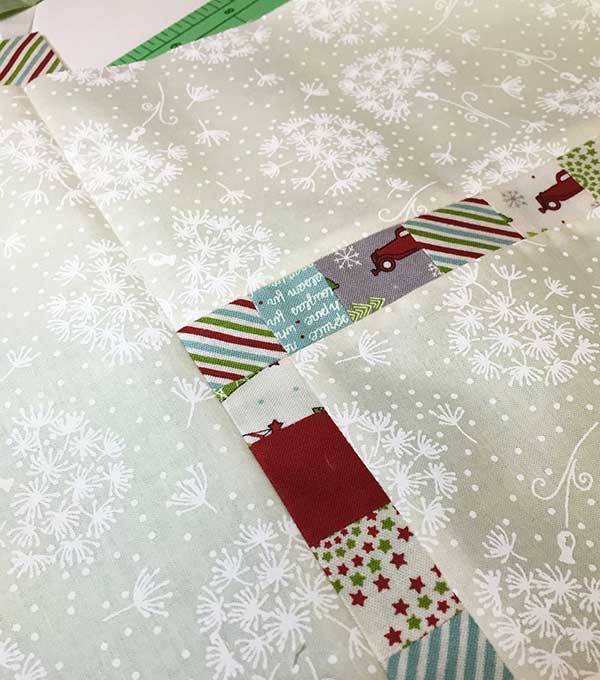
As always when you finish a project you see the little things that could be done just a little bit better! I thought the inner borders could have been finished off a bit nicer than in the one I made for @isabellagolightly26 (sorry Susan!!)
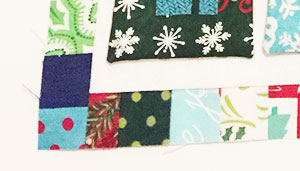
See how the corner where the two borders meet isn’t 100{557cb0de45f4248f47d4ac028c5e353e2045c2cf110136f8175d4656403a993e} perfect? If you are not fussy, then just follow the instructions in the pattern…. if however (like me) it bugs you, then these are the modified instructions!
Attach the strips to the top and bottom of the main tree section. Trim to align the edges.
Then for the two side strips… trim them to 1/4″ longer than the background section (see picture below to show a bit better)
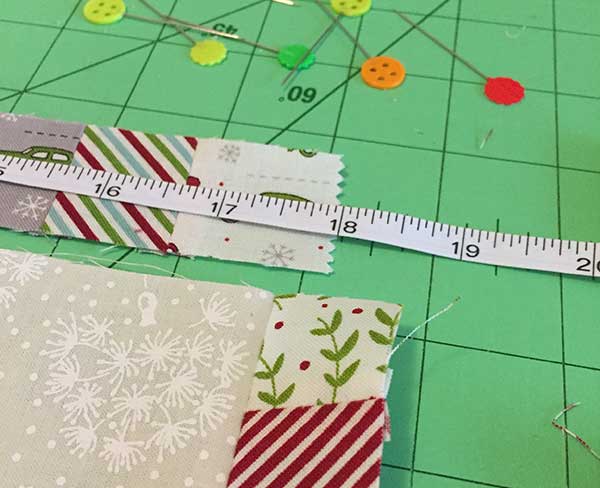
Then cut four pieces (I chose the fabric I used for the pocket number 25 and a solid green for my Holly’s Tree farm calendar) 1 and 1/4″ square. Attach one to each end of the side strip and then attach to your main tree section, making sure you line up the seams. I think it looks a little bit better 🙂
Can’t wait to see what you do with your tree!
See you next week to put on all the embellishments and buttons!


