
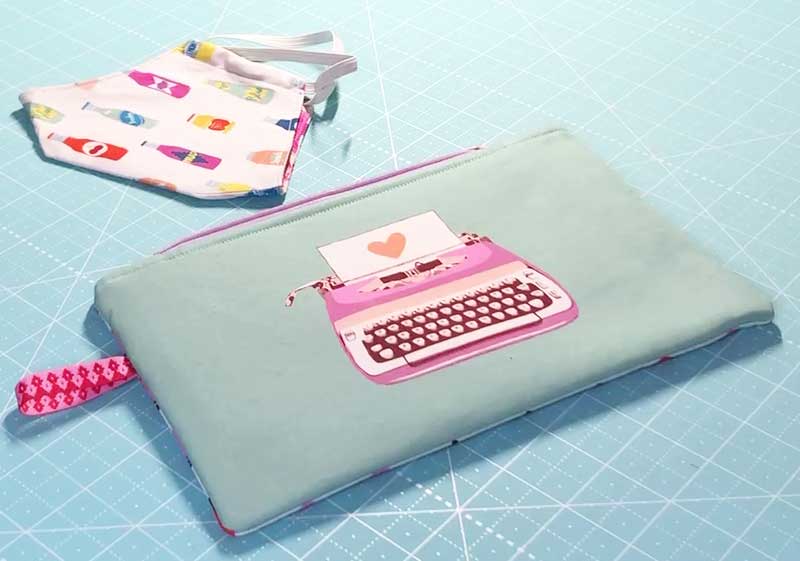
This typewriter from the Ruby Star Society mask panel inspired me to make a something other than a mask and to create a zippy pouch tutorial for you in case you too wanted to use your mask panel for something other than masks too!
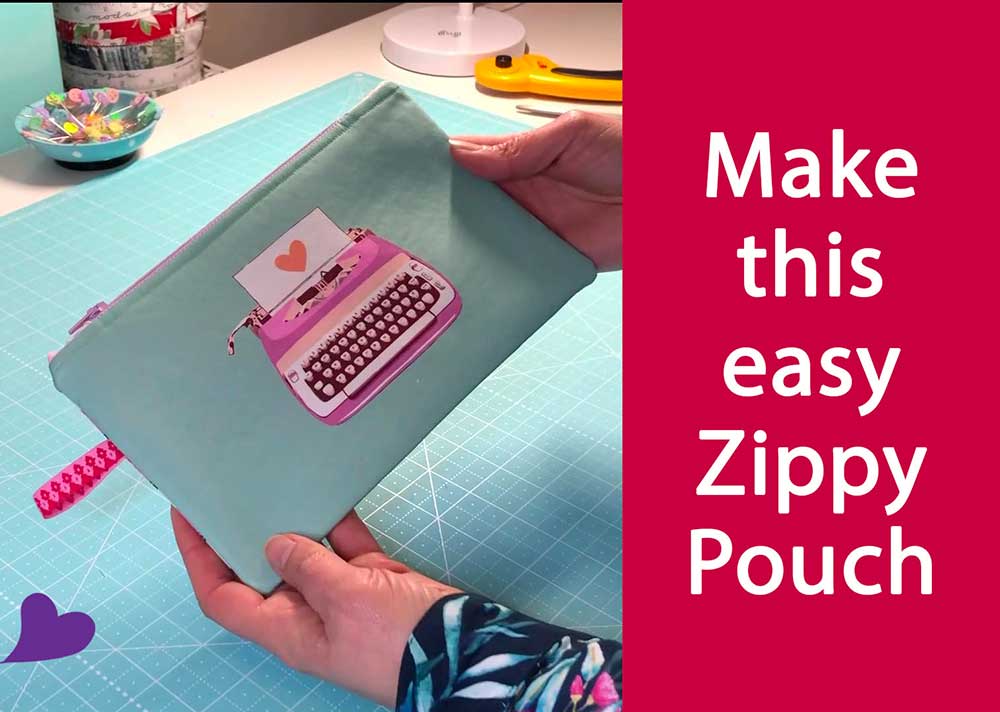
The Ruby Star Society mask panel is gorgeous, and I have made quite a few masks from it

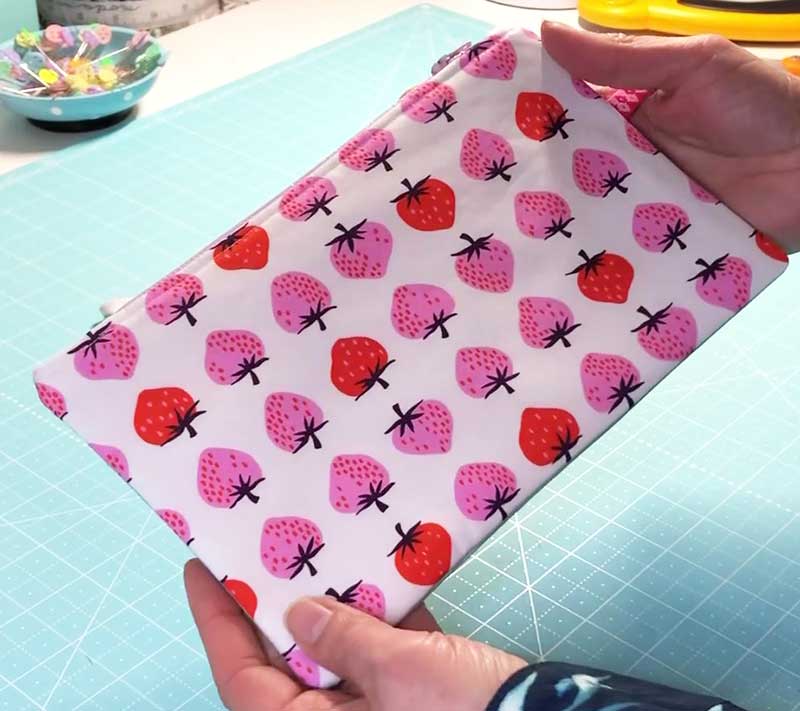
But some of the rectangle pieces were just toooooo good to use for a mask (which I hope we won’t have to wear forever!)…. so I made a zippy pouch.
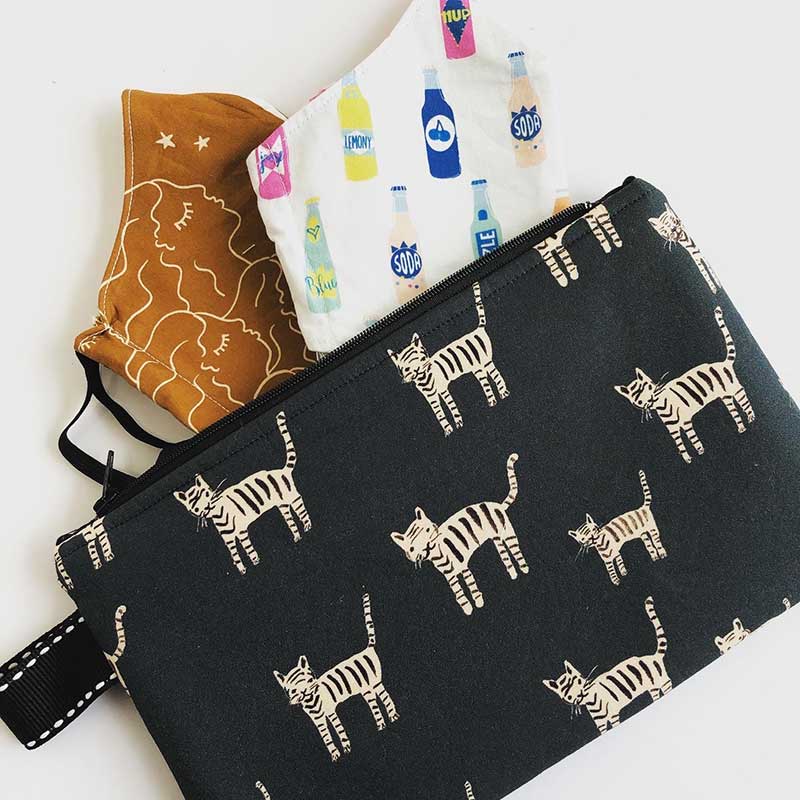
I am using my zippy pouch to put my clean masks in to take with me when I leave the house. Once worn, they go into a ziplock plastic bag to be taken home and washed and dried. Having the cute zippy pouch helps me identify which are the clean masks and which have been worn!
Click on the image below or this link to watch the video and there are written instructions below!
To Make Your Own Zippy Pouch You Will Need
- A Ruby Star Society Mask Panel (you can pre order them here) and cut out two of the rectangular sections that are 6.5″x 10″ (these are the exterior pieces of your pouch)
- 2 pieces lining fabric 6.5″x 10″
- 2 pieces fusible fleece 6.25″ x 9.75″
- 10″ zip in a coordinating colour
- 2 pieces fabric to coordinate with exterior 1.5″ x 3.5″ for the zipper tab
- *optional a piece of ribbon 3.5″ to 4″ long
Iron the fusible fleece to the wrong side of both your exterior pieces following your manufacturers instructions
Take your two pieces of small fabric for you zipper tabs and fold over the two ends by 1/4″ and then fold and press in half.

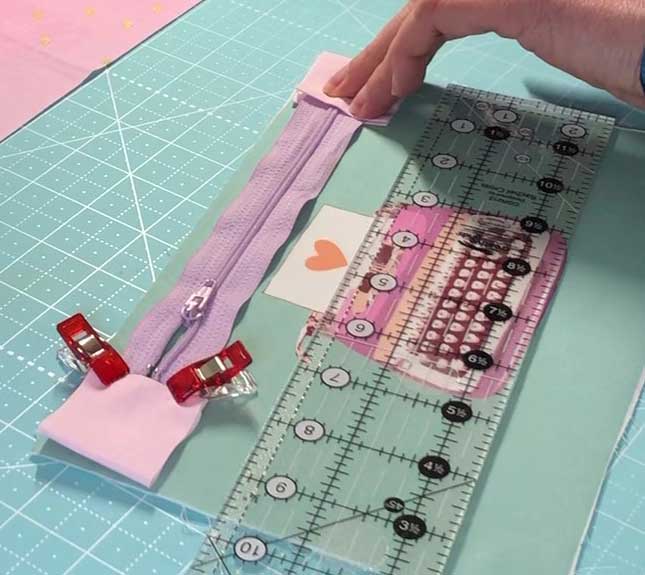
Place one of the zipper tabs over the end of your zip near the zipper pull and pin or wonder clip in place.

Line it up with the left side of your exterior piece.
Measure 1″ in from the right hand side and cut the end of the zip off (using your kitchen scissors not your good fabric scissors!)
Place your second piece of zipper tab fabric over that end, lining up the edge of the zipper tab with the right hand side of your exterior piece.
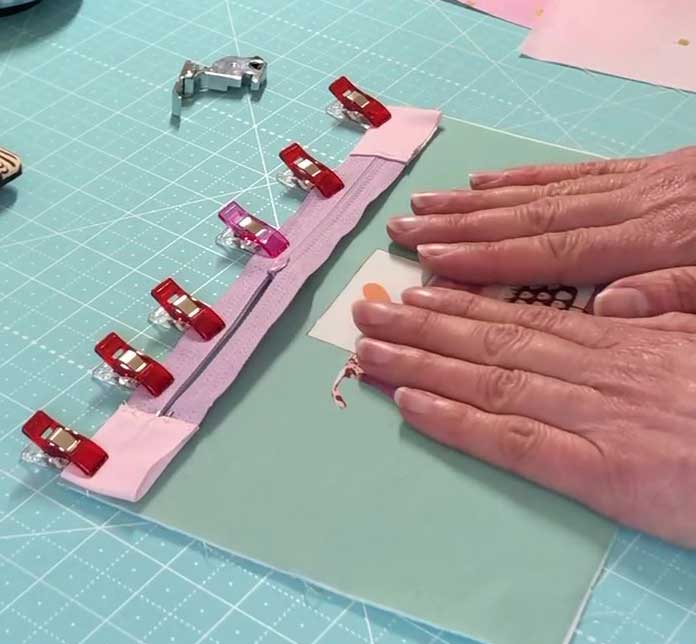
Sew a seam across the zipper tape making sure you avoid any metallic bits.
Trim the zipper tab in line with the width of your zipper.

Then place your exterior front piece face up on your table.
Put your zip face down on top of that (ie the zipper pull is on the underside). Wonderclip the zip along the top raw edge of your exterior piece
Then place a lining piece right side down on top and put the wonderclips on.
Take to the sewing machine and sew using a zipper foot near to the zipper teeth. Moving the zipper pull to the middle before you start sewing and when you reach that, lift up your sewing machine foot and slide the zipper pull past it so that you can continue sewing without the bulk of the zipper pull.
Press the exterior and lining away from the zip and then top stitch about 1/8th inch away from the top of the exterior piece in a matching thread colour. (and trim your lining fabric to be the same size as your exterior)

Take your second exterior piece (the back of your zippy pouch) and place it face up on the table.
Take your front piece (with the zip and lining attached) and place it face down on top. Ie the zipper pull goes down.

Place the last lining piece face down on top of that. Wonderclip and then sew the zipper as you did for the other side.
Press the exterior and lining away from the zip and then top stitch about 1/8th inch away from the top of the exterior piece in a matching thread colour.
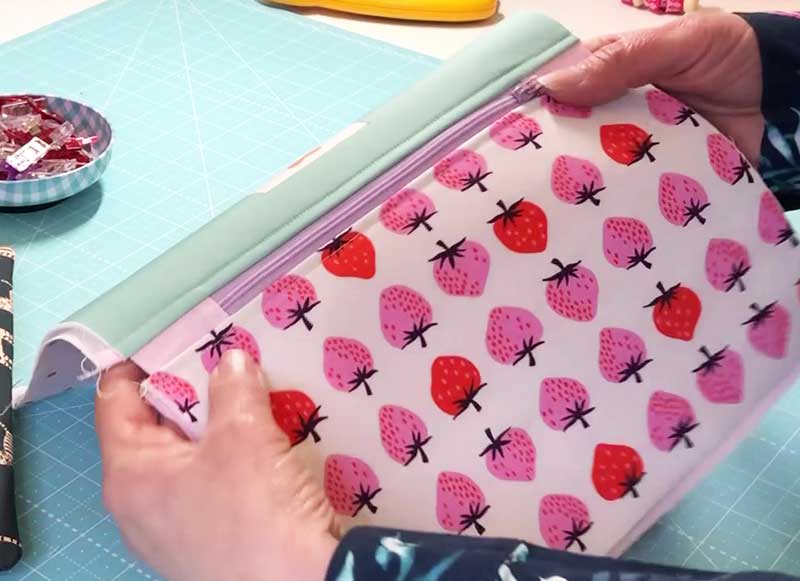
Your zippy pouch is starting to look like a pouch!
At this point, open your zip. **** don’t forget this step! ***
If you want to put in a ribbon as a bit of a grab handle now is the time. Fold it in half and place it with the raw ends matching the raw edge of the exterior pieces (ie the ribbon will be on the inside of your pouch) about an inch down from the zip.

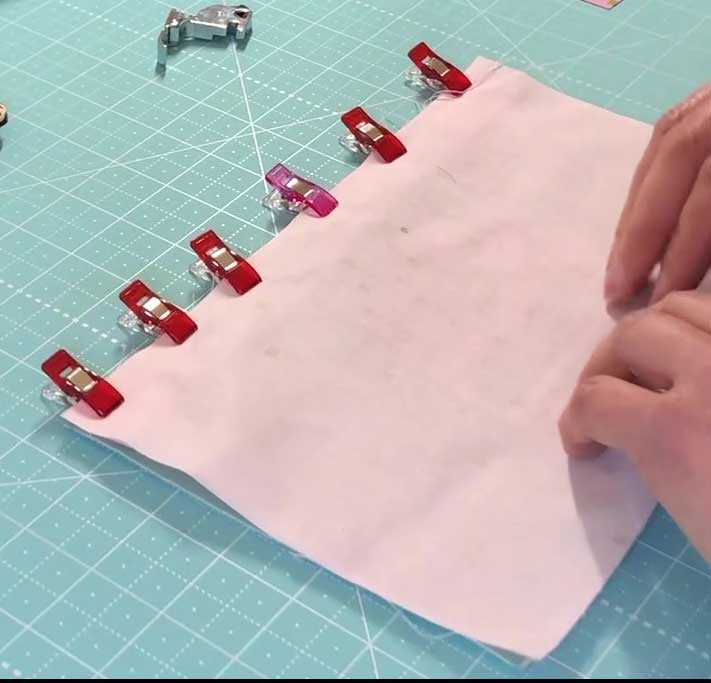
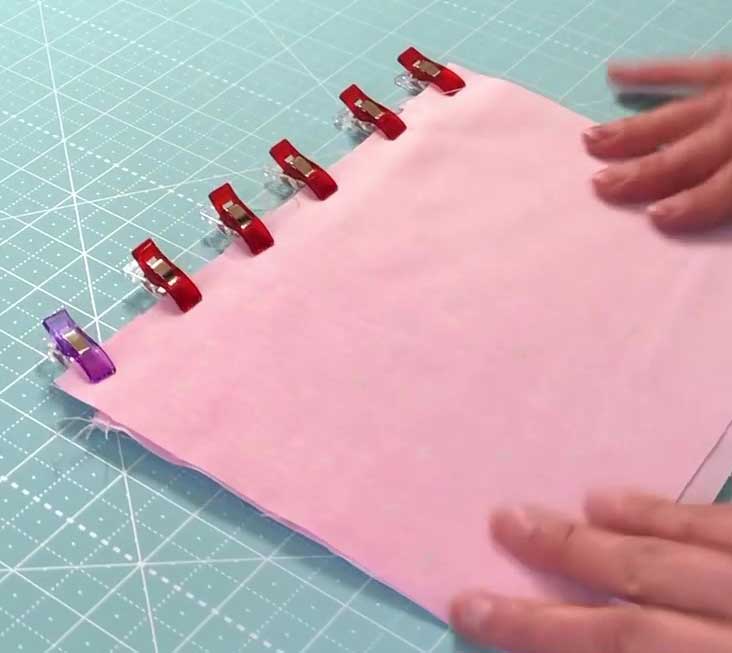
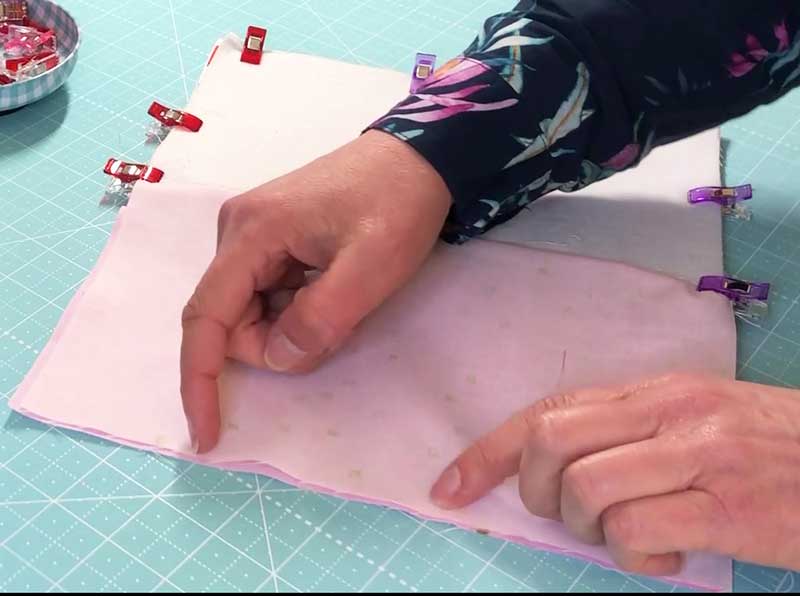
Put the two exterior pieces right sides together and put the two lining pieces right sides together. Pin or wonderclip making sure that the junction where the lining and exterior pieces meet at matching.
Leave a 3″ gap at the bottom of the lining (this will be where we turn it in the correct way).
Start sewing at one edge of the 3″ gap in the lining with a few back stitches and a 3/8″ seam allowance. When you get to the exterior section change to a 1/4″ seam allowance.
When you get back to the lining side again, change back to 3/8″ seam allowance and finish off with a few back stitches again.
Trim around the corners a little to reduce some bulk.
Turn your pouch out the correct way making sure the corners and near the zip ends are pushed out as much as possible.
Once you are happy with the turn through, sew up the gap in the bottom of the lining (either on machine with a tiny seam allowance or by hand).
Give it a press and you have a zippy pouch!
I hope you have enjoyed this tutorial and would love to see your makes on Instagram! Just tag me @said_with_love and use the hashtag #maskzippypouch


What an enjoyable tutorial! Relaxed and informative – I learnt quite a few tips and now have a lovely pouch. Thank you so much