
When I showed the Bionic Gear Bag that I made my mum to go to our recent stitching day, some of the girls on Instagram wanted to know more and we decided we would do a little private sew along 🙂
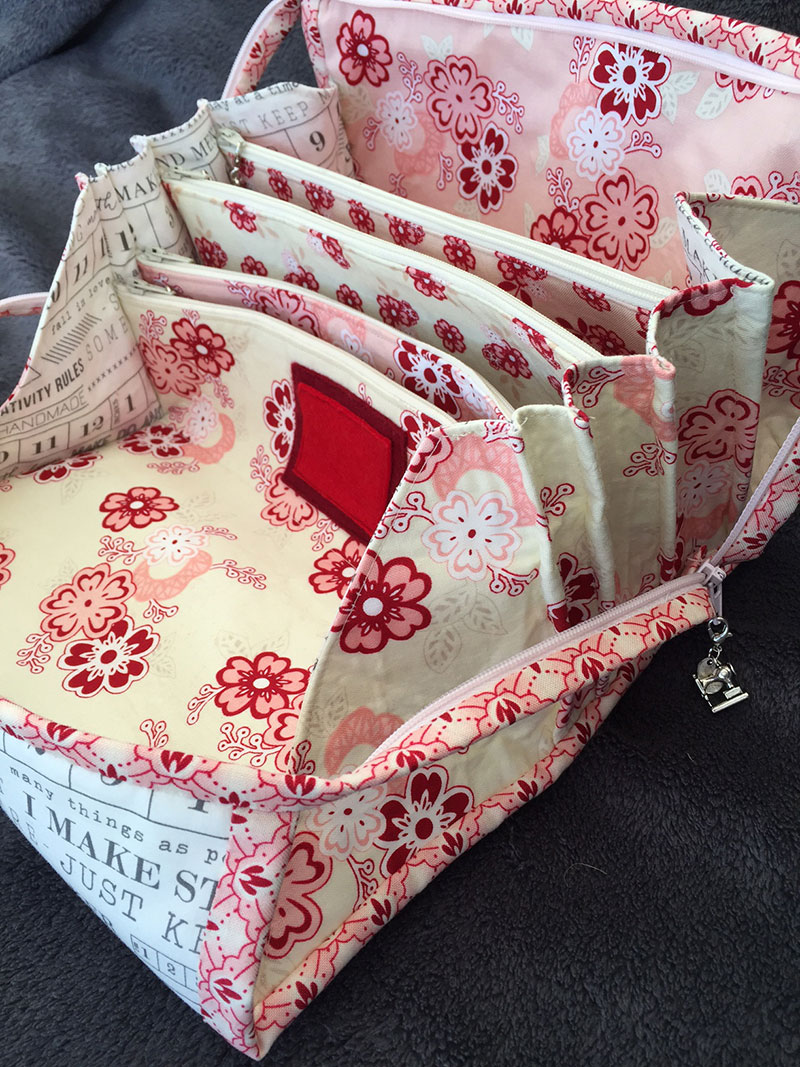
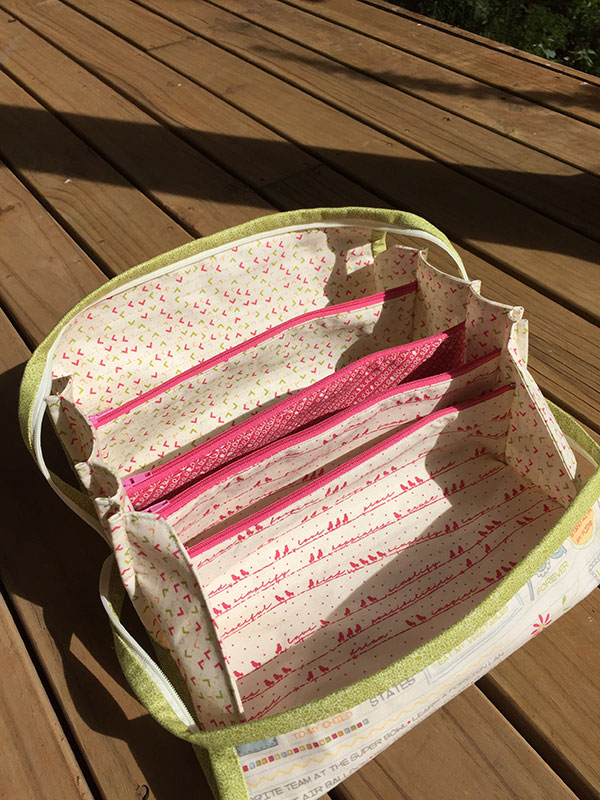
I have made about 5 of them so far (pattern was originally available on Craftsy, now has moved to https://sewing.school/products/pdf-bionic-gear-bag-pattern-only ) and I love that when you open them up the front part becomes a little work area. This is the one I made for my mum out of Raspberry Parlour fabric.
The first one I made for me and I use it every day on my sewing room table, all the others I have given away to people as I think everyone should have one!

I have even made one out of my precious Winter’s Lane fabric (by Kate and Birdie) AND I GAVE IT AWAY! Gulp. That was hard. But Karen had helped me out of a big hole and I was very, very grateful!

You do so many fun things with the zips and the inside of the zip pockets etc 🙂
Ok, so here are some of my tips for making the Bionic Gear Bag.
- Print out just the cutting page (there are LOTS of pages in the pattern and it is better to look at it on a computer or ipad)
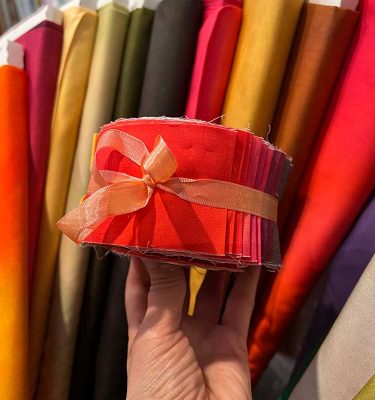
- Select your fabrics and line them up so you have the outside fabric, then the fabric to make the working area (at the front), then the fabric for the inside of the first zip pocket, then the fabric between the first zip pocket and the second zip pocket, and then the fabric for the inside of the second zip pocket. etc. etc. This way you can actually see how it will look and you can get some POP happening in there 🙂
- I cut the outside piece (A) a little longer than the pattern says…. just to have some wriggle room.
- If you have directional fabric that you want to use for the outside make sure you have the fabric going in both directions so you have the fabric right way up on both sides of the outside 🙂
- Label everything. I use alphabitties and I clip them to the fabric. Also, once I have put the interfacing on, I label on the back in pencil as the pattern suggests (this helps to keep things up the correct way when you are putting your zips in).
- Put aside some good uninterrupted time to put all the zips in. Once you get started and it clicks in your head, just keep on going and get them all done 🙂
- Before you put the side panels on think about whether you want to add any extras – I have added a felt needle spot on my mum’s, a little key fob in one of the pockets on another that was sew into the side seam.
- I will be honest. Putting the side panels on isn’t easy. It will require some bag wrangling. But it isn’t too bad. Put in a jeans needle, go slow and remember to breathe 🙂 🙂 It is just a bag. If it is a bit wonky then it just makes it more handmade 🙂
- For the side binding I put it on like I do quilt binding. I sew the binding to the ‘inside’ (another pass on those side seams but stick with it!) and then I hand sew the binding to the outside. This way I don’t have some wonky machine sewn on binding and as I am hand sewing, I can ‘tweak’ things a little. If you look closely at the binding around the zip in the Winter’s Lane one the machine sewing on the second side is just not up to scratch (sorry Karen!).
- Iron your binding after you have put it on so you get a nice crisp fold.
- I like popping zipper pulls on when I am done – I love using them!
There are a few video tutorials online that can be helpful. I watched them when I did my first one and it was great. If I can find the links again I will pop them in here.


I first saw this bag at a quilt retreat. So completely awesome, but as I’m not friends with zippers it’s over-the-top intimidating. Someday maybe I’ll conquer my fear of all those zippers and small sections and try to make one. Thanks for the tips…I’ll definitely use them if I make one!
Thank you Anne xx there are some very helpful hints here ????
I can’t find the pattern to purchase anywhere. Will you please share the pattern and I am happy to pay for it. Thankyou.
I went and found the designer’s new site https://sewing.school/collections/downloadable-pdf-patterns and it looks like she has a Version 2.0 out too!
The problem with the pattern is the ‘old’ website for help It’s no longer available
Yes, Craftsy no longer exists of course. in the comment above you (and now updated in the blog post) I have found where you can now get the pattern. https://sewing.school/products/pdf-bionic-gear-bag-pattern-only
It is worth giving it a go!