
Welcome to the first month of the Charm Collective! The Charm Collective is the Said With Love collection for 2019 of 12 patterns written specifically for charm packs! Read more about the Charm Collective.
Each month, on the first Thursday of the month, we will release a new pattern. You can buy them each month for full retail price, or you can subscribe to the whole year of the Charm Collective and receive a large discount! Click here to purchase.
Our first month’s pattern is a free tutorial so that everyone can use one of their beautiful charm packs! Our subscribers will have received in their inbox this tutorial in PDF form, along with additional instructions on how to make a larger size quilt using two charm packs PLUS a bonus of the Simply Charming On Point pattern.
Simply Charming
Our first charm friendly pattern is the simplest of patterns, however it can look stunning with a great fabric line AND it is quick and easy to make, so is a perfect for that last minute gift for a baby or young child.
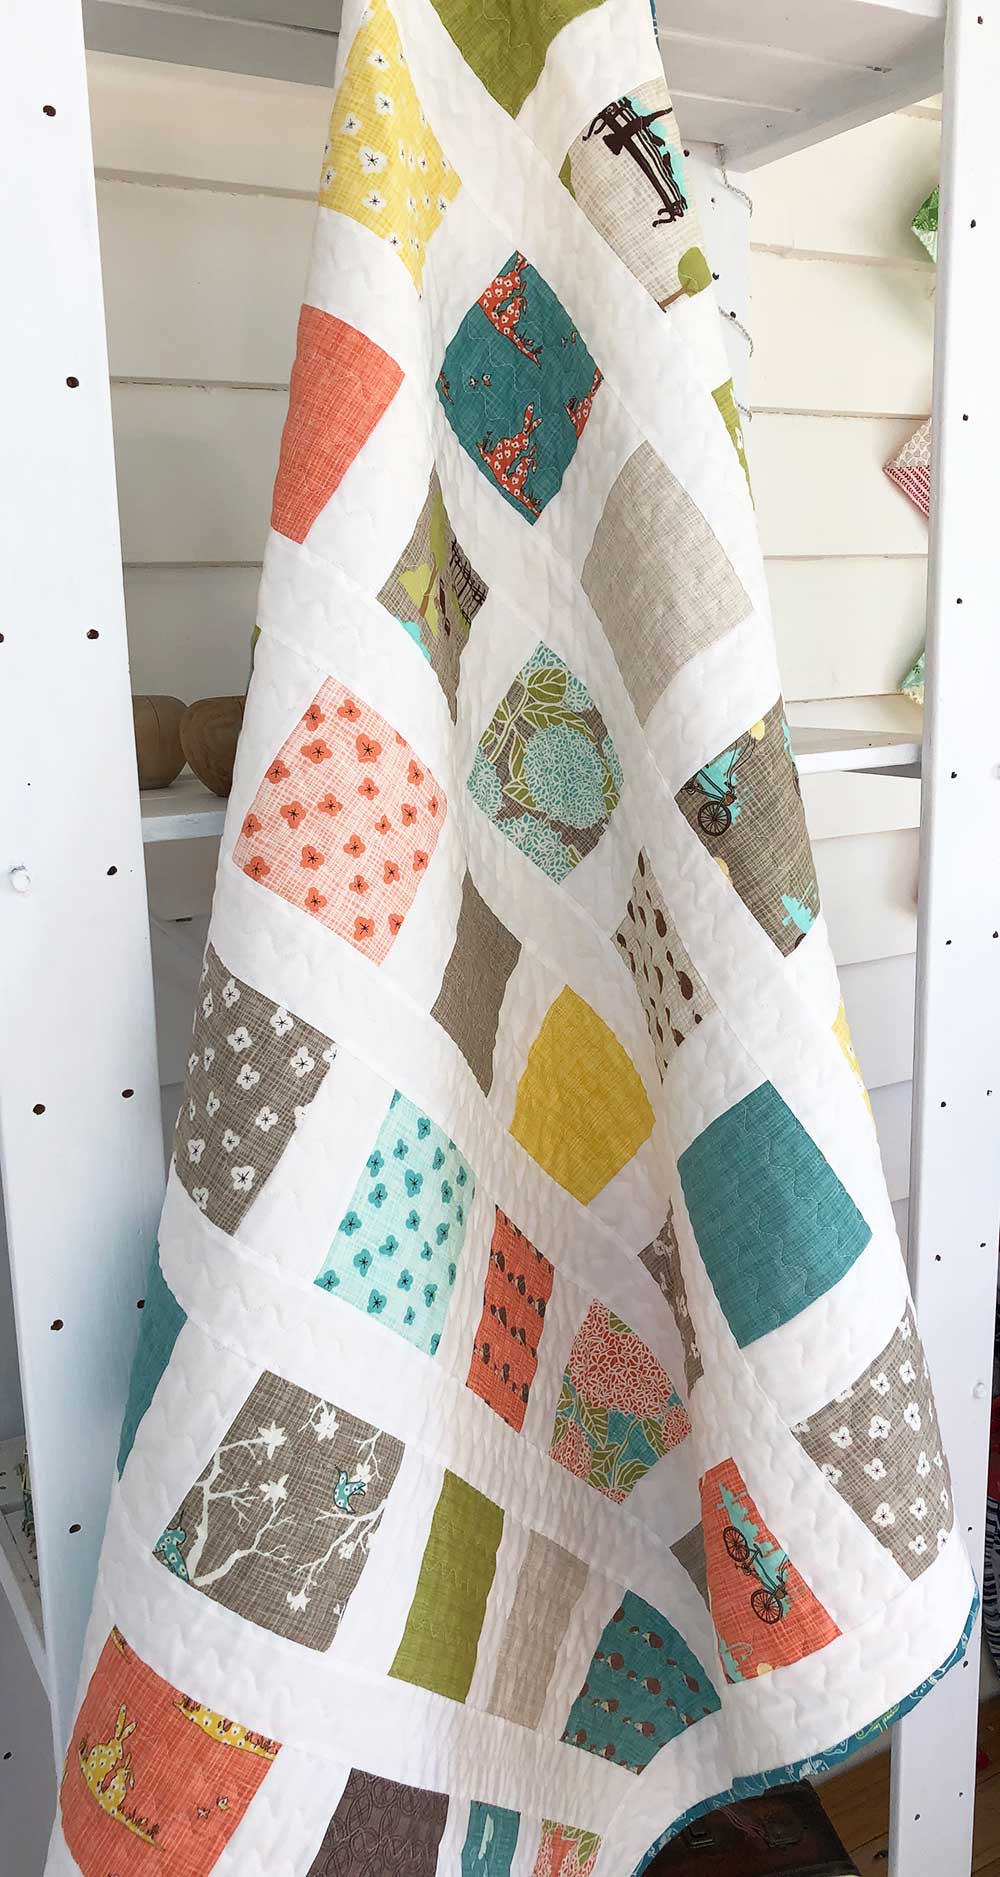
This tutorial makes a 41.5″ x 48″ quilt.
What you will need
1 charm pack (42 – 5″ squares) [I used Bluebird Park by Kate & Birdie]
40″ (or 1 & 1/8th yard) x WOF of background fabric cut into 15 – 2.5″ x WOF strips and then subcut into the following :
- 35 – 2.5″ x 5″ strips
- Don’t cut these until after step four : 8 – 2.5″ x 37.5″ strips
- leave 2 WOF strips
Backing 45″ x 52″ (more if you are getting this longarm quilted)
Binding 3/8th yard (12” x WOF) cut into 5 – 2.25” x WOF strips and made into 190” binding
Wadding / batting – 45″ x 52″
Thread, rotary cutter, mat, cutting ruler, measuring tape, sewing machine.
How to make the Simply Charming Baby Quilt
- Take your 42 charm squares and lay them out on a design wall / bed / floor in a 6 x 7 grid with some space between each of them. TIP: Use numbered pins to keep track of the rows if you don’t want a random placement.
- Once you have a pleasing arrangement, put the 2.5″ x 5″ strips between each charm square (none on the outer sides of the quilt).
- Then sew the row together. Press one row towards one side, the next row to the other side.
- Measure the length of your strip. It should be 37.5″. Cut your WOF strip to that length and pin to the bottom of the row.
- Repeat steps 3 & 4 for all rows.
- Then sew one background/sashing strip to the top of the top row.
- Then sew 2 of the WOF background/sashing strips together on the short end (to make one super long strip). Measure your quilt height on both sides and in the middle. It should be 48″. Take the average height and then cut your strip that length and pin and sew to the side. Repeat for the other side.
Your quilt top is finished!

You just need to quilt your top, batting and backing together (I used a very simple serpentine stitch on my Janome 9400QCP) and then bind it. And your quilt is ready for giving to some lucky person!
I would love to see your finished quilts so if you post on Instagram please use the hashtags #charmcollective #simplycharmingquilt
Or you can join us over on Facebook at our Said With Love Sew Along group and share you progress and finishes there 🙂
And here is a look at the additional quilt pattern, Simply Charming on Point, that was sent out to subscribers today 🙂

Next month is a clever pattern to create A Bunting Charmer! To make sure you don’t miss any of the Charm Collective, sign up now and you will get each month’s pattern delivered to your inbox!
And these quilts are part of my finishes for 2019 first quarter Finishalong #2019FAL #2019FALSWL


Great use of charm packs! Congrats on the finishes! On behalf of the FAL crew, thanks for joining in!